Table of contents
Storing code and other artefacts into a repository backed by a version control system (VCS) is a fairly well-understood and agreed-upon technique. However, many organizations I work with are still creating and managing repositories by hand or with one-off scripts. While this method does work and is often good for beginners to get a grasp on the fundamentals, there are tough challenges with scale, consistency, security, and cleanup to surmount. It is far more powerful to use code to deploy, secure, and manage repositories.
still creating Github repositories the old-school way (manual), with following steps:
Log into your Github account
Click on “+” (New Repository)
Manually type repo name, permission
Manually add license, readme, and gitignore file
Save and create the new repo
Start adding basic project structures in the new repo
so this step is so much inefficient, error-prone, has no standardization, is and not scalable.

This article will show you how to create a GitHub repository in a more IAC (Infra as code) fashion, which is more efficient and scalable.
Why Terraform
HashiCorp Terraform is a tool for building, changing, and versioning infrastructure that has an open-source and enterprise version. Terraform is platform agnostic and can be used to create cross-platform infrastructure. Terraform provides thousands of integrations for different platforms, tools, networking, logging, monitoring, etc.
![What is Terraform Cloud? Complete Terraform Tutorial [New]](https://www.whizlabs.com/blog/wp-content/uploads/2021/04/Terraform-1.png)
So let's get started
Prerequisites:
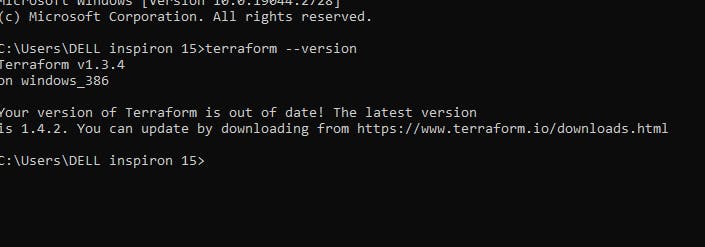
You have Terraform installed locally

You have an existing Github account

You have generated a personal access token with at least full repo control permissions

Terraform Code

->Validate and fix formatting
  $ terraform validate
  $ terraform fmt
->Dry run and plan
  $ terraform plan Terraform used the selected providers to generate the following execution plan. Resource actions are indicated with the following symbols:
    + createTerraform will perform the following actions:# github_repository.terraform will be created
    + resource "github_repository" "terraform" {
        + allow_merge_commit     = true
        + allow_rebase_merge     = true
        + allow_squash_merge     = true
        + archived               = false
        + default_branch         = (known after apply)
        + delete_branch_on_merge = false
  ....
-> Execute
  $ terraform apply
  Terraform used the selected providers to generate the following execution plan. Resource actions are indicated with the following symbols:
    + createTerraform will perform the following actions:# github_repository.terraform will be created
    + resource "github_repository" "terraform" {
        + allow_merge_commit     = true
        + allow_rebase_merge     = true
        + allow_squash_merge     = true
        + archived               = false
        + default_branch         = (known after apply)
        + delete_branch_on_merge = false
        + description            = "terraform from Terraform"
        + etag                   = (known after apply)
        + full_name              = (known after apply)
        + git_clone_url          = (known after apply)
  ...
  Plan: 1 to add, 0 to change, 0 to destroy.Do you want to perform these actions?
    Terraform will perform the actions described above.
    Only 'yes' will be accepted to approve.Enter a value: yes github_repository.terraform: Creating...
  github_repository.terraform: Creation complete after 6s [id=terraform]Apply complete! Resources: 1 added, 0 changed, 0 destroyed.
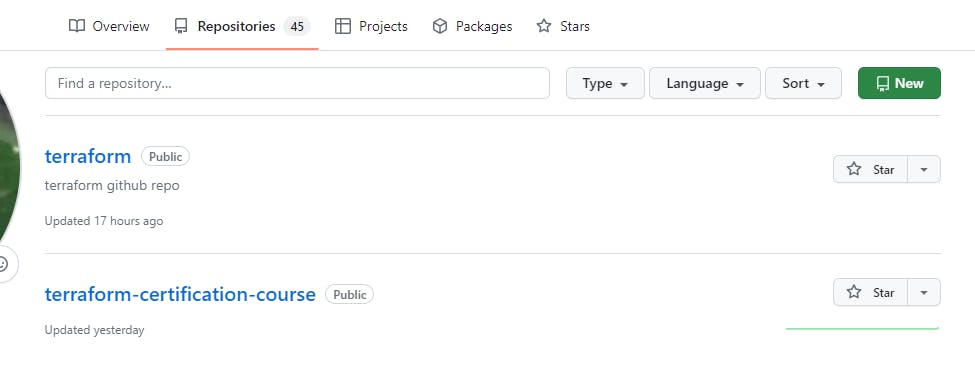
Now you should have your new repo in your GitHub account
So, this is how you create a GitHub repository using Terraform and the concept of IAC. It might take you some time initially to set up the templates and develop the terraform code.

If you want to delete the repo, just simply type terraform destroy and it will do the deletion for you.
Please, feel free to drop any questions in the comments below. I would be happy to answer them.
If you find this post helpful😊🙂, please follow and click the heart❤❤ button below to show your support.
_ Thank you for reading
_sandhya kumari
