Kubeweek Challenge(Day1)

I am a software engineer (Cloud /DevOps Enthusiast. Talks about DevOps | AWS | Docker | Linux | Jenkins | Git | Terraform | Technical Blogger).I have a strong ability to troubleshoot and resolve issues, and are consistently motivated to expand the knowledge and skills through exploration of new technologies.
Kubernetes Architecture and Components, Kubernetes Installation and Configuration.
Kubernetes Architecture and Components
Kubernetes architecture is designed as a distributed system that spans across multiple nodes, where each node is an instance of the Kubernetes cluster. The architecture can be divided into two main components: the control plane and the worker nodes.
- Control Plane Components:
a. API Server: It provides a RESTful API for communication with the Kubernetes cluster. The API server is responsible for validating and processing requests and updating the state of the Kubernetes cluster.
b. etcd: It is a distributed key-value store that stores the configuration data and the state of the Kubernetes cluster. It is used as the backend data store for Kubernetes.
c. Controller Manager: It is responsible for managing various controllers that are responsible for maintaining the desired state of the Kubernetes cluster. It detects changes in the cluster and takes corrective actions to bring the cluster back to the desired state.
d. Scheduler: It is responsible for scheduling pods on the worker nodes based on resource availability, constraints, and other policies. It ensures that pods are scheduled to the right nodes.
- Worker Nodes:
a. Kubelet: It is responsible for managing the lifecycle of pods on a node. It communicates with the API server to get the configuration of the pods assigned to the node and ensures that the pods are running as expected.
b. Container Runtime: It is responsible for running the containers inside the pods. Kubernetes supports several container runtimes, including Docker, containers, and CRI-O.
c. kube-proxy: It is responsible for providing networking services to the pods running on the node. It forwards traffic to the appropriate pod based on the IP address and port number.
d. Pod: A pod is the smallest unit of deployment in Kubernetes. It is a logical host for one or more containers and can be scheduled on a worker node. A pod can share network, storage, and other resources with other pods running on the same node.
Overall, the architecture of Kubernetes is designed to be highly scalable, fault-tolerant, and flexible. It allows users to deploy and manage containerized applications on a large scale while providing a simple and consistent interface to the developers.
Kubernetes Installation and Configuration.
Here are the steps to install and configure Kubernetes on an EC2 instance:
Step 1: Launch EC2 Instance
a.) First, launch an EC2 instance. You can use the Amazon Linux AMI or any other Linux distribution that you prefer.

b.) Make sure that the instance has at least 2GB of RAM and 2 CPUs.(t2.medium)

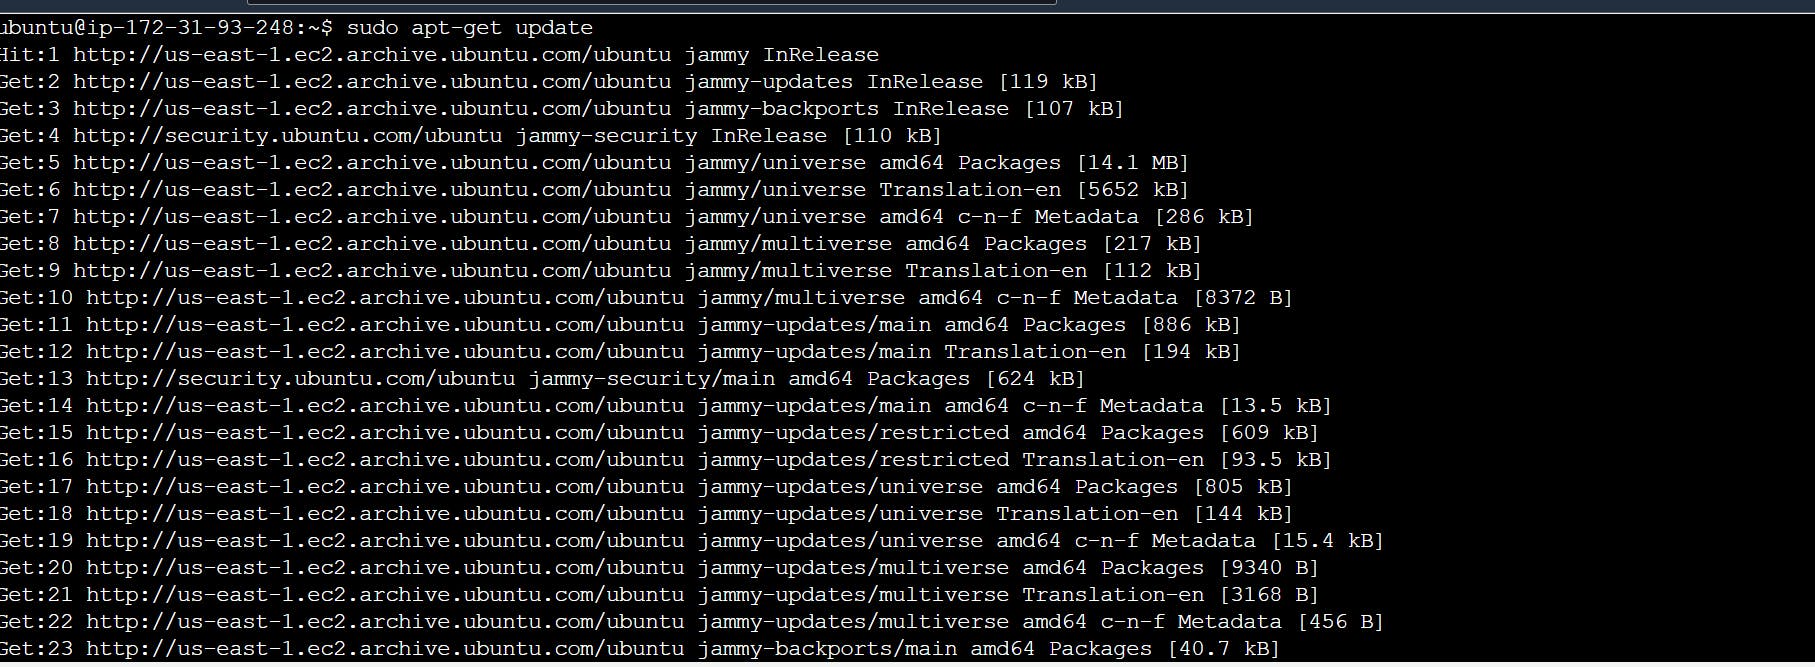
sudo yum update
Step 2: Install Docker
Install Docker on the EC2 instance using the following command:
sudo yum install -y docker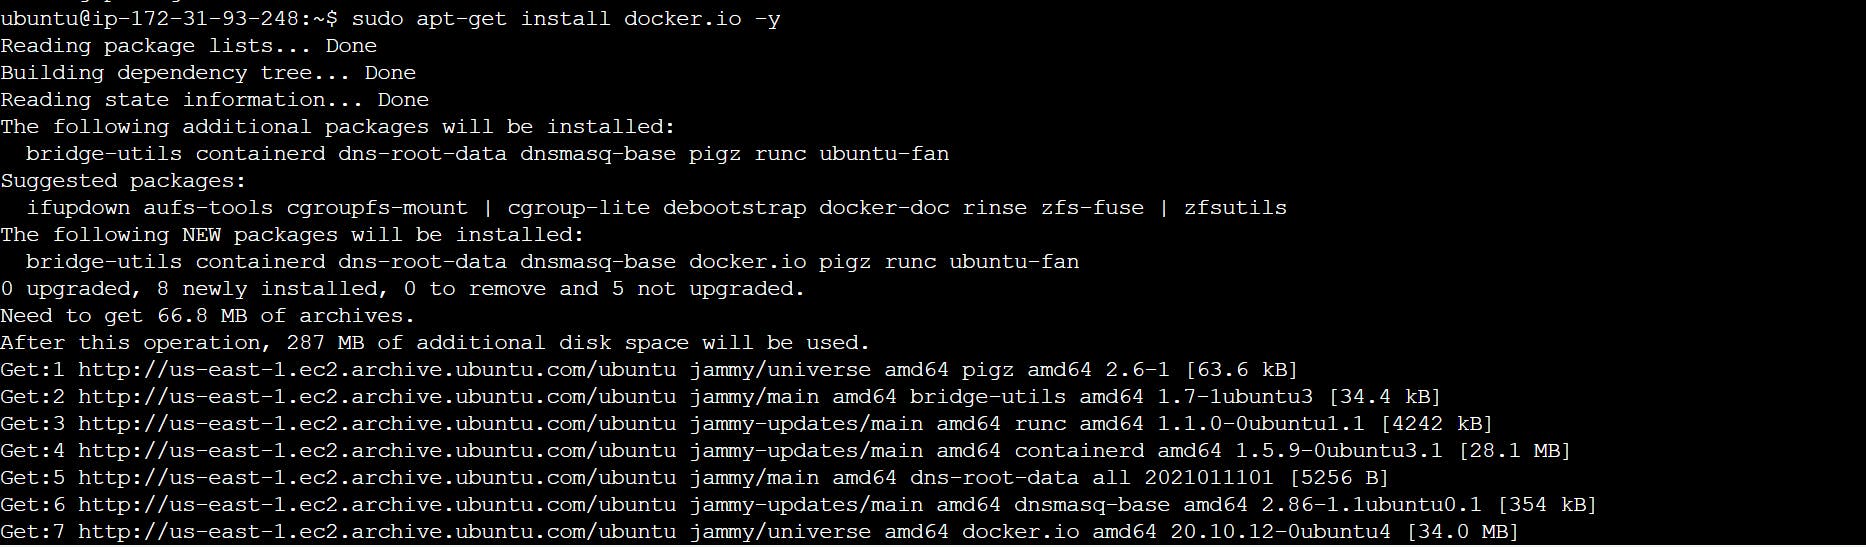
Step 3: Install Kubernetes
Add the Kubernetes repository to the EC2 instance using the following command:
sudo vi /etc/yum.repos.d/kubernetes.repoAdd the following lines to the file:
Install Kubernetes using the following command:
sudo yum install -y kubelet kubeadm kubectlStart the Kubernetes services using the following command:
sudo systemctl enable kubelet && sudo systemctl start kubelet
Step 4: Configure Kubernetes
Initialize the Kubernetes cluster using the following command:
sudo kubeadm initCopy the kubeconfig file to your home directory using the following command:
mkdir -p $HOME/.kube && sudo cp -i /etc/kubernetes/admin.conf $HOME/.kube/config && sudo chown $(id -u):$(id -g) $HOME/.kube/configInstall the Kubernetes network add-on using the following command:
sudo kubectl apply -fhttps://docs.projectcalico.org/v3.8/manifests/calico.yaml
Step 5: Join Nodes in the Cluster
- If you want to join additional nodes to the Kubernetes cluster, run the join command that was provided by the Kubeadm init command on each node.
That's it! You now have a Kubernetes cluster running on your EC2 instance.
Installation and Configuration minikube.
step: 1 curl -LO https://storage.googleapis.com/minikube/releases/latest/minikube-linux-amd64 sudo install minikube-linux-amd64 /usr/local/bin/minikube

step: 2 Use minikube start --driver=docker

sudo usermod -aG docker $USER && newgrp docker

minikube ssh


sudo snap install kubectl --classic

Please, feel free to drop any questions in the comments below. I would be happy to answer them.
If you find this post helpful😊🙂, please follow and click the heart❤❤ button below to show your support.
_ Thank you for reading
_sandhya kumari


